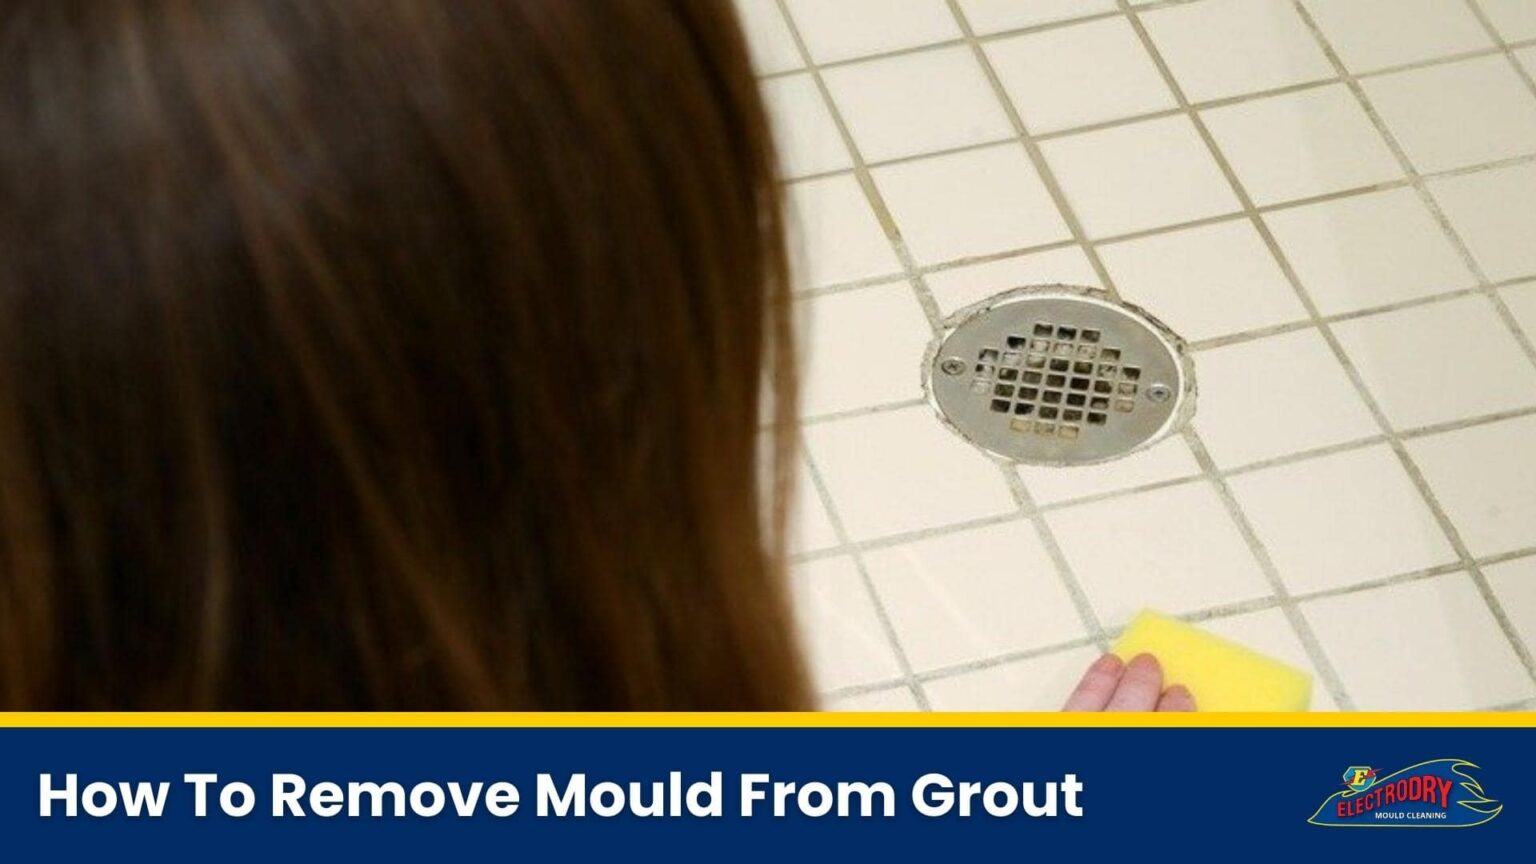
How to Remove Mould From Grout

Mould growth on grout and tiles is a frequent problem in homes around the world, especially in damp and poorly ventilated areas. Fortunately, there are relatively easy ways to remove mould from grout as well as prevent mould regrowth.
You might think that mouldy grout is simply an aesthetic issue; however, mould can also lead to health issues, including allergies, respiratory infections, and asthma attacks. With this in mind, mould is clearly not something to be ignored.
In this article, we’ll explore the different ways you can clean mould from grout with our step-by-step guide. We’ll also provide you with some tips on mould prevention, so you can get back to your regular schedule in a mould-free home.
If your grout mould is extensive or severe, you should consult a professional mould cleaning service to ensure the job is done thoroughly. At Absolute Mould Removal, we understand how frustrating mould can be, which is why we offer an affordable and revolutionary Melbourne mould cleaning service.
Items You Need to Remove Mould From Grout
Before diving into the steps of removing mould from grout, it’s essential to gather the right tools and materials for the job. Here’s a list of items you’ll need:
| Gloves | Safety goggles | Ventilation mask |
|---|---|---|
| Protect your hands from chemicals and mould spores by wearing rubber or nitrile gloves. | To protect your eyes from any splashes or debris, safety goggles are a must-have. | A mask (preferably N95) will prevent you from inhaling harmful mould spores and strong fumes from cleaning agents. |
Once you’ve got your personal protective equipment (PPE), gather your cleaning supplies:
| Mould removal solution | Choose a commercial or professional mould removal product, or a DIY mixture of white vinegar, water, and baking soda. |
| Stiff brush | Use a stiff-bristled brush or an old toothbrush for effective scrubbing. A scrubbing sponge can also be handy for removing mould from porous surfaces and materials. |
| Spray bottle | Using a spray bottle makes it easier to apply the mould removal solution to the affected area. |
| Microfibre cloth | Use a microfibre cloth to ensure a thorough clean without damaging the grout or scratching the tiles. |
Steps to Remove Mould From Grout
Now that you’ve gathered the necessary items, it’s time to tackle the mould on your grout.
Prepare the area and yourself
Start by opening any windows and doors to ensure proper ventilation. Turn on the kitchen or bathroom extractor fan if you have one. After that, put on your gloves, safety goggles, and a ventilation mask.
Create or choose the mould removal solution
Choose a commercial or professional mould removal solution. Some professional mould-cleaning products that can be used on grout and tiles include:
How to use Ajax Professional Mould Remover Spray onto the mouldy grout, let it sit and work for 5 minutes. Then wipe the surface with water. Concrobium Mould Control Spray Spray onto the affected grout, let it dry, and then remove any mould residue with a microfibre cloth or soft brush. Selleys Rapid Mould Killer Spray onto the affected area, leave it to work for 3 minutes, then wipe or scrub off with a soft-bristled brush. You can also make a paste to function as your own DIY cleaner. Mix one cup of white vinegar, one cup of water, and three to four tablespoons of bicarbonate of soda (baking soda) until you have a thick baking soda paste. You may need to add an extra tablespoon of bicarb to get a paste-like consistency.
Apply the mould removal solution
Generously apply the solution to the affected grout – whether it be in the kitchen, shower, bathroom walls, or floor. If you’re using the baking soda paste, let it sit for 10 to 15 minutes. This allows the solution to penetrate the mould and loosen its grip on the grout.
If you’re using a professional or commercial mould removal product, ensure that you follow the instructions carefully and note any warnings.
Scrub the grout
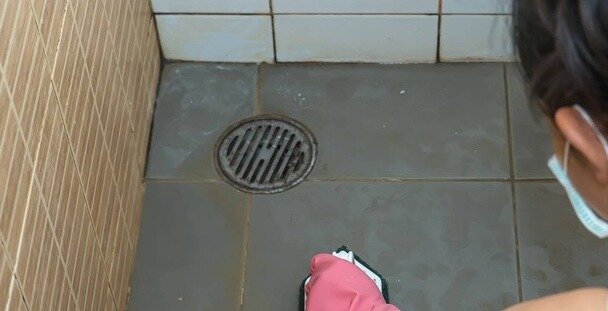
Using the stiff bristle brush or old toothbrush, scrub the affected grout in a circular motion, making sure to cover every inch of the offending area. Don’t forget to dismantle tight corners and hard-to-reach spots.
Rinse the area
Once you’ve thoroughly scrubbed the area, rinse it off with water. Use a handheld shower head or a wet microfibre cloth to get rid of all the loosened mould and cleaning solution. Make sure the area is rinsed thoroughly so that no residue is left behind.
Dry the area
Use a clean, dry microfibre cloth to wipe down the area to prevent moisture build-up, which can lead to further mould growth. Open the doors and windows, and use fans to make sure that the grout and tiles are completely dry. Ensure all surfaces are dry before leaving the area.
Prevent future mould growth
Prevention is key to avoiding mould regrowth in the future. Keep your kitchen, bathroom, or other affected areas well-ventilated, and regularly clean the tile grout with a vinegar-based solution. Regular doses of vinegar will help to stop the mould from growing back. Consistency is essential, so develop and maintain a cleaning routine.
Grout Mould Tips and Prevention

- If you’ve recently discovered mould or fungus on your grout or tiles, it’s crucial to act fast to remove it and prevent further growth.
- Good ventilation is key in preventing mould growth. Ensure that the affected area is adequately ventilated by opening windows and doors, using exhaust/extractor fans or dehumidifiers. A well-ventilated area will help reduce moisture in the air and prevent mould from developing. Always shower or cook with the doors and windows open to keep mould away from kitchen and shower grout.
- If you’re remodelling or tiling your bathroom or kitchen, consider using mould-resistant grout. Mould-resistant grout contains anti-microbial additives that prevent mould growth, making them an excellent choice for areas that are prone to dampness and moisture.
- Regular cleaning is essential for preventing mould growth. Use a vinegar-based solution to clean the grout regularly. Vinegar is a natural disinfectant and can effectively remove mould and prevent its growth. Mix equal parts of white vinegar and water in a spray bottle and spray it on the grout. Let it sit for a few minutes, then scrub with a stiff brush or old toothbrush.
- Leaking pipes or water damage can create a damp environment that promotes mould growth. Fix any leaks or water damage promptly to prevent moisture build-up and mould regrowth.
- Mould thrives in high-humidity environments, so keep humidity levels low by using a dehumidifier or air conditioner. Mould grows when the humidity level is above 70%, so ensure that your home’s humidity levels are between 30 and 50% to prevent mould growth.
- Hydrogen peroxide and bleach may have adverse effects on your grout, depending on whether or not your grout is porous. This is often difficult for the everyday person to know, so stick with vinegar, bicarb, or a commercial product specifically designed for mould removal from grout.
- Tea tree oil has natural anti-fungal properties and can be used as a natural alternative for mould removal. Mix a teaspoon of tea tree oil with a cup of water and spray onto the affected area. Rinse with warm water and thoroughly dry the tiles and grout.
If you’re still struggling with mouldy grout, call our friendly professional team on 1300 902 362 or make a booking online.
